You can open, edit and render your exported scene from Maya or Cinema 4D.
This method is faster and less memory consuming. On Standalone computer there has NOT necessary to be Maya or Cinema 4D installed.
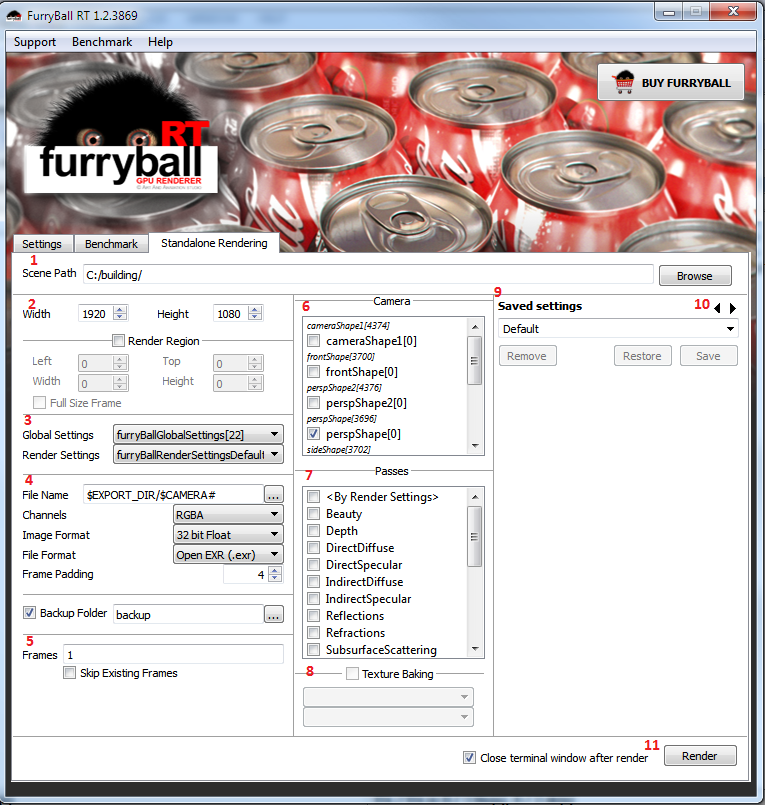
FurryBall standalone rendering section is divided into few parts as is shown in previous image.
Here you can set path where your exported scene is stored. You can set either folder name, render_options.fbr file or any of saved .fbo files if some exists (see 9 for more details about saved files).
You can open file dialog window by clicking on Browse button.
When your path is correctly set, then all settings will be shown and come be editable.
In this section you can change output file resolution and also you can enable region rendering.
For region rendering you can choose region of your image to be rendered and you can also use Full Size Frame check box to rendering region into file with standard resolution with black background.
Here you can choose from your global and render settings.
After selecting some of global / render settings, its detailed settings will be displayed in section 9.
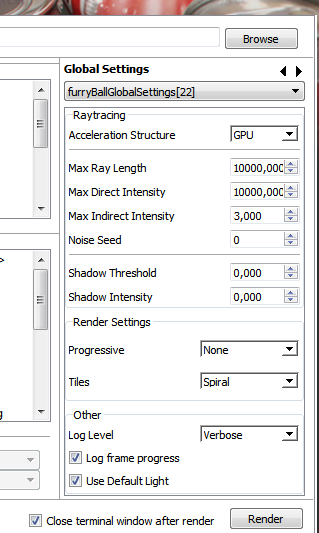
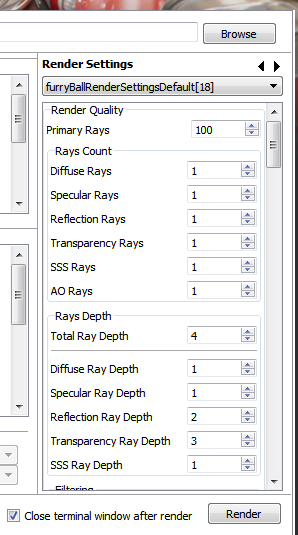
Here you can change any of your saved global or render settings.
Here you can select output path and also output file settings.
You can also choose if previous frames may be moved into backup directory which you can also specified.
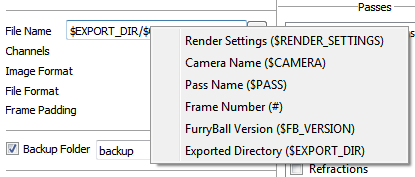
By right click on File Name edit box or Backup Folder edit box possible variables to be used will be shown.
In this sections you can specify frames to be rendered. After click into Frames edit box, frames selection tool will be shown in section 9.
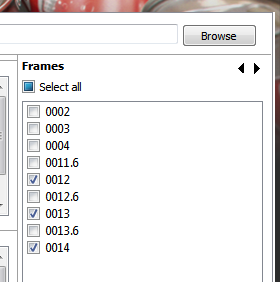
You can also specified if existing frames should be skipped.
Note, that you can specify frame number what you want, however nearest existing frame will be rendered. For example: Exported frames are 1, 2, 3 and you type into Frames text box frames: 1.5 and 8, than frames 2 and 3 will be rendered.
In this section you can choose which camera should be rendered. Because of possible instancing of camera nodes, it is displayed camera object name and under it also existing camera instances. By clicking on camera or its instance, detailed camera settings will be shown in section 9.
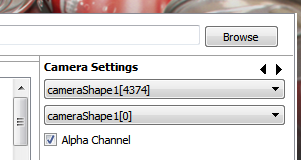
It is also allowed to render more cameras at once.
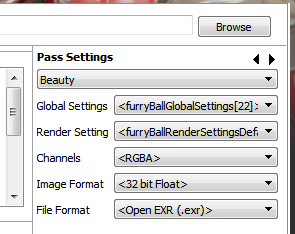
Here you can specify which passes should be rendered.
If none of passes will be selected then pass selected in render settings will be rendered.
<By Render Settings> can be selected with any other pass to render also pass selected in render settings.
After selecting of some pass, detailed pass settings will be shown in section 9.
Here you can override used global settings, render settings or file output settings.
By enabling of texture baking section, you can select mesh and its instance to be baked into texture.
Another render settings as resolution, frame, file name, file format and passes will be used, so it is appropriate to set is to expected values and save it as another render option as is described in section 9.
This section is dynamic depending on user activity as described in previous sections. You can change content also by arrows in section 10.
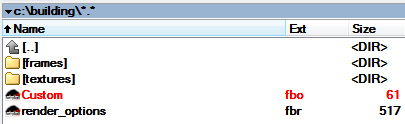
By default Saved Settings are displayed in this section.
Saved settings are used for saving changes in your settings. When you export scene from Maya or Cinema 4D, render_options.fbr file will be created. This file is Default settings and should not be changed.
If you want, you can create another options by renaming it and click on save button.

When you do something changes you can save this options and .fbo file will be created.

You can also remove it or restore all unsaved changes.
You can change content of section 9 by arrows in section 10.
When you can render your file, press Render button.
After that FurryBall rendering will be opened in new terminal window.
You can also uncheck Close terminal window after render if you don't need to close terminal window when rendering will be finished. It is suitable for example if any errors occurred.