FurryBall support exporting scene into FurryBall standalone format. It is useful for large scenes and also for using Cinema 4D scene in Maya or 3DS Max.

After click on FurryBall Export menu item, directory browser will be displayed as is shown on image below.

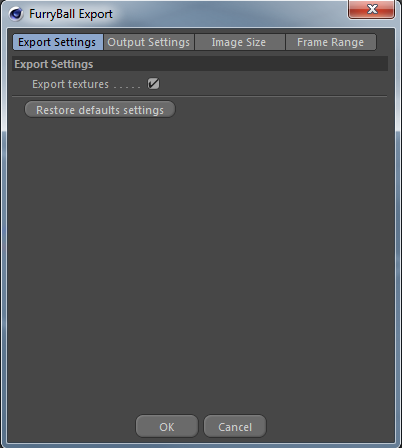
When a existing or newly created directory is selected then FurryBall Export settings is shown.
This settings contains few sections, not of all is required to be changed if you want only export scene for future importing. Sections Output Settings and Image size is useful only if you want to render via FurryBall standalone.
By click on OK button, export is going to be started.
In this section is basic settings for exporting and also button to restore all settings to default.
You can select if also file textures should be exported. If you don't select it, file textures will be loaded from directory as is stored. It allows to use FurryBall texture cache, but you must have access to this textures from place where you start rendering (same computer, textures saved on shared network place etc.).
Restore all settings to default values.
This section contains attributes for setting output of rendered images.

Path where will be the files renderer
The File Name attribute has a possibility to add several global variables to it and expand the values for every frame or settings used. Let's explain this on the following example, it is also the default path:
$EXPORT_DIR/$CAMERA#
This string tells the renderer to put the rendered files into a directory where exported scene is located ($EXPORT_DIR). The file images will be named after the camera used ($CAMERA)and frame number (#)will be added to it. The output path and files could then look something like this:
C:/Export/My Scene/Camera0001.exr
If the path doesn't exist it will be created.
Here is the list of variables that will be automatically expanded when used:
RGB or RGBA in single image (You can select if Alpha will be rendered in same image)
Bit depth for final image 8-16-32 bit.
Output file format to save rendered images to. Note that not all formats can handle all depths. Use OpenEXR formats for images with bigger depth than 16 bit.
When you render over old sequence, images will be backup in folder.
Path where will be stored previously rendered frames.
You can use relative path to file will be rendered or you can specify absolute path.
If the path doesn't exist it will be created.
The Folder Name attribute has a possibility to add several global variables. See File Name attribute in Output Settings section.
This section contains attributes for setting resolutions of rendered images.

Width of rendered image
Height of rendered image
Render only selected region from final resolution.
This section allows to set frame range for exporting.

Enable or disable sequence rendering
Number of digits displayed in your file name (replaced by # variable).
Use only for sequence rendering. Select the first frame to start sequence from.
Use only for sequence rendering. Select the last frame in the sequence.
You can select frame step for rendering.
You can select if frames should be skipped if already exists.
Change the frames number for your sequence.
Select the first frame number.
You can select frame step for renumbering.
All of this attributes will be filled by values in render settings.